Friday 9 December 2022

A Vintage Christmas Card

This is my final blog post of the year for Visible Image so I am sharing a traditional style vintage Christmas card on kraft card using the stunning Poinsettia Grunge and Christmas Robin stamp sets. 


This design is perfect for batch making, which is actually what I have done as I needed 5 cards to go with some little treat boxes I have made for a local company of carers to deliver to some of their elderly clients on Christmas day in hampers they are making up. 


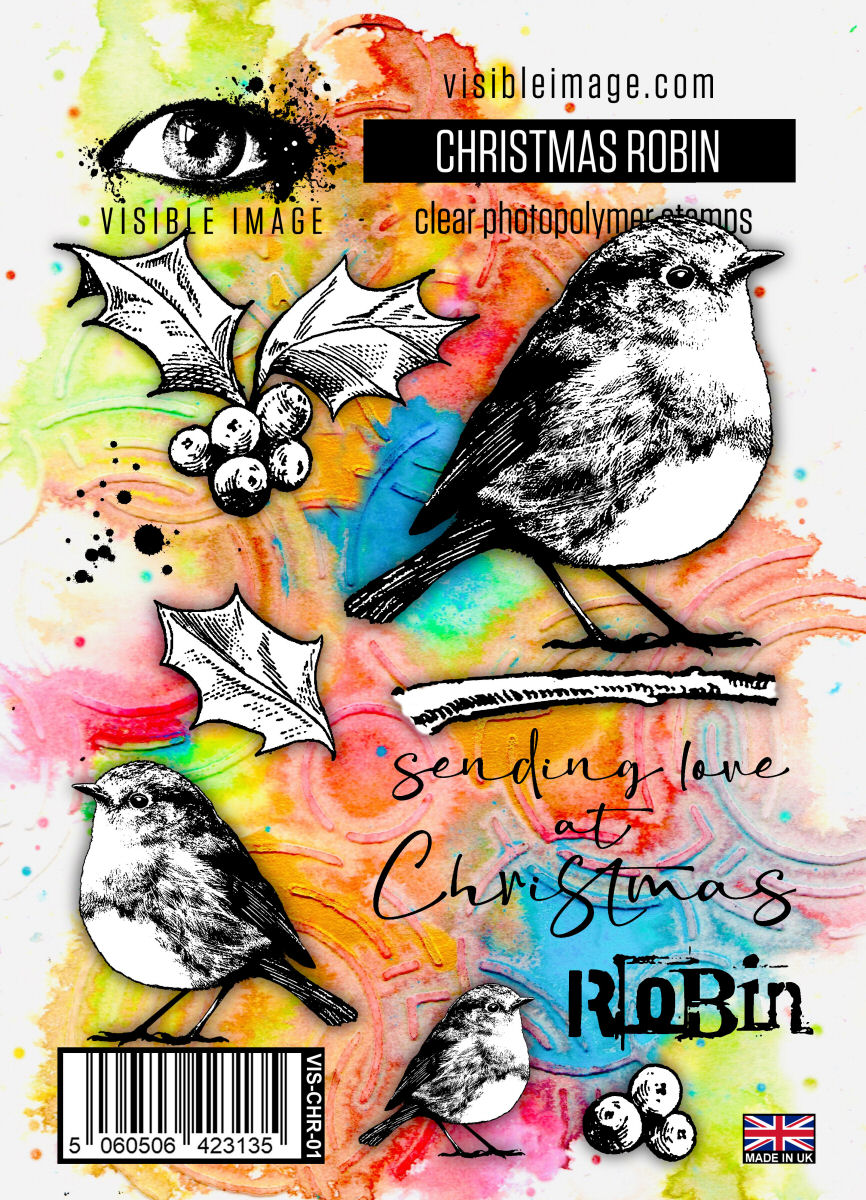
I stamped the images using a stamp platform on kraft card. 


I then used Distress watercolour pencils to colour the holly and flower as the colour pallet is perfect for that vintage feel I was hoping to achieve. 


I finished by doodling a border, adding some white highlights and gold pain splatters before mounting on gold card stock.


I really hope that the recipients enjoy their little hand made treat and it makes them smile this Christmas. 

I will be back in the new year with more inspiration for you, but in the mean time why not check out the social media links below to see what the rest of the team and Visible Image fans have been creating. 

Have a wonderful Christmas!

Lynda
x

Products used


Visible Image Links


Friday 25 November 2022

Santa Claus Is Coming to Town!

It's almost December so there is no denying that Christmas is just around the corner and preparations for the festive season need to start. That of course includes card making, so todays design team project for Visible Image is a cute card using a few of their gorgeous seasonal stamps ( there is an amazing Black Friday sale on too so check it out to grab some bargains if this card has inspired you!).


I started by creating a wintery backdrop with Distress ink on watercolour card stock. I applied the ink to a craft mat, added water and dabbed my card into it. 


I used oxide ink to stamp some snowflakes from the Snow Is Falling set, and stamped the Christmas tree from Christmas Eve in Versafine Clair ink. 


I added Distress Grit Paste to create textured snow along the base of the card, which I also sprinkled with Glamour Dust powder to make it sparkle. 


I coloured and fussy cut Santa. Just look at those boots crunching through the snow!!


I added white dots to the christmas tree with a posca pen, then added pearl drops to decorate.  


The sentiment was created on acetate with glitter paste and the gorgeous Christmas Eve stencil and adhered once dry. 


I'll be back soon with more inspiration to share, but in the mean time why not check out that sale, and follow the Visible Image social media links to see what the team and customers have been making. 


Thursday 10 November 2022

Totally Toadstools Shaker Card

Autumn is such a beautiful season and my favourite to reflect in my crafting. The rich tones all around never fail to inspire me and get my creative juices flowing. Totally Toadstools from Visible Image is one of my go to stamp sets as fungi also happens to be one of my favourite things, and now I am delighted to say that they have just released co ordinating dies. What a game changer!  

As soon as I saw them my mind turned to the idea of using them to create a fun shaker card as I had recently purchased some lovely seasonal table confetti that I thought would be perfect inside. 


To begin I cut two pieces of card to the same size and used the largest die to cut an aperture from one of them.


Using a stamp platform I placed the aperture sheet over the full sheet and lay my toadstool stamp inside. 


I stamped the image inside the framed area and set aside. 


I then set to work on my scene, using Distress Ink to create a background around the aperture. 


I stamped the grasses stamp to create some depth. I also stamped and die cut them, along with two of the smaller toadstools and coloured. 


I used the recently released Branch Out stencil on the edge of my card. 


Once happy with my scene I created the shaker by adhering a sheet of acetate behind the aperture and using foam pads around the shape of it to create a 'wall' to hold my leaf confetti in place. I coloured the main image,lined the cards up and secured together with more foam tape. 


To finish I layered some leaves on the outside, along with the die cut elements. Some autumnal toned Flowersoft added more texture and dimension to the image. 


Visible Image have released more co ordinating dies to some of their most loved stamp sets so do take a look. You will find lots of amazing inspiration over on their social media pages.


Thursday 27 October 2022

A Halloween Journal Page

Halloween is almost upon us and I have been getting in the mood by creating a spooky page for my art journal as this weeks design team project for Visible Image. 

I started by creating a background with Distress Oxide inks. I swiped them on my mat, spritzed with water and dabbed my page in until I was happy. 


I then used the Skull Shadow stencil and black ink across half of the page. 


On the opposite side I planned to use the Guardian Angel stamp, so I stamped out the wings in black ink, but I wanted a hint of red on them so I embossed over them with Candied Apple Distress Glaze.  I also added some background stamping using the script stamp from Scripted Streets, and the Grunge Tones set. 


Some embossed Ink Splats worked beautifully as blood too .


I happened to have a piece of card with red spray ink on in my stash, and I stamped the angel on this and fussy cut. Doesn't he look dramatic!


Before I glued him on I used acrylic ink to drip some 'blood' from where his hands would go.  I also stamped out some skulls from Mr Bone Jangles, and old favourite from my Visible Image collection! 


I adhered my angel to my page and gave him some shadow with watercolour paint, then finished off with the sentiment,some red ink splats and some torn pieces from a Ripped Fishnet die cut. Super spooky and dark but so much fun to make!


If you celebrate Halloween I hope you have a wonderful time on Monday. 

Do check out Visible Image on their social media pages for more inspiration from the talented design team and of course you can share your Visible Image creations on their FB group and Instagram. We love to see what you have been making too.


Friday 14 October 2022

No Filter

Today I am sharing a card with some absolutely stunning stamps from Visible Image, No Filter and Background Vision. This is such an empowering image, perfect for acknowledging the strong women we all know. 


I started by inking the main image with Kaleidoscope ink and stamping  onto watercolour card and spritzing with water to make it bleed. For this technique using a stamping platform works best. 


Once happy with the bled area, I re stamped in Archival ink to add the definition. 


I used a white gel pen to clean up her eyes, and added some background stamping before adding the sentiment. 


Products


These new stamp sets have been so popular and there is already lots of DT and customer inspiration over on the social media pages so why not take a look. 


Thursday 29 September 2022

Antisocial Butterfly Tag - Visible Image New Release

Today I am sharing a mixed media tag using the fantastic new release from Visible Image.  The Antisocial Butterfly stamp set will resonate with those who feel anxious in social situations and tend to shy away from them, but can also obviously be used as a gorgeous butterfly for any occasion.  


I started by creating some texture and applying modelling paste through the A to Z stencil. 


Once that had air dried, I applied Distress and Dylusions sprays to give it a fabulously grungy look. 


While the spray in dried I stamped and cut my butterflies and sentiment. 


I then stamped some of the text from the main image in the set to add another layer of interest before heat embossing some Frantage enamel over it. 


I finished by mounting the butterflies on top of some black textured thread and splattering some fluid acrylic paint over the top to pull it all together.  


Products used


Mark and Helen, aka Mr and Mrs Visible Image , have so much planned over the coming weeks to inspire and delight their fans so do follow along on the socials linked below to keep up to date and also see all the wonderful work my fellow design team members have been creating.